“本文主要讲如何搭建一个较完整的实验室深度学习环境,主要工作有:安装Python、CUDA、cuDNN、Theano和Tensorflow。”
安装Anaconda:
因为Anaconda中集成了许多必要的Python库(如numpy、scipy等) ,因此安装Anaconda可得到许多便利。
- 官网下载Anaconda
- 切换到下载目录
cd ~/下载/ - 用bash运行下载好的.sh文件
bash Anaconda2-4.3.0-Linux-x86_64.sh - 进入欢迎界面
Welcome to Anaconda2 4.3.0 (by Continuum Analytics, Inc.) In order to continue the installation process, please review the license agreement. Please, press ENTER to continue >>> - 按回车
================
Anaconda License
================

Copyright 2016, Continuum Analytics, Inc.

All rights reserved under the 3-clause BSD License:

Redistribution and use in source and binary forms, with or without
modification, are permitted provided that the following conditions
are met:

* Redistributions of source code must retain the above copyright no
tice,
this list of conditions and the following disclaimer.

* Redistributions in binary form must reproduce the above copyright
notice,
this list of conditions and the following disclaimer in the documen
tation
and/or other materials provided with the distribution.

* Neither the name of Continuum Analytics, Inc. nor the names of it
s
contributors may be used to endorse or promote products derived fro
m this
software without specific prior written permission.

THIS SOFTWARE IS PROVIDED BY THE COPYRIGHT HOLDERS AND CONTRIBUTORS
"AS IS"
AND ANY EXPRESS OR IMPLIED WARRANTIES, INCLUDING, BUT NOT LIMITED T
O, THE
IMPLIED WARRANTIES OF MERCHANTABILITY AND FITNESS FOR A PARTICULAR
PURPOSE
ARE DISCLAIMED. IN NO EVENT SHALL CONTINUUM ANALYTICS, INC. BE LIAB
LE FOR
ANY DIRECT, INDIRECT, INCIDENTAL, SPECIAL, EXEMPLARY, OR CONSEQUENT
--更多--
可以按q退出
- 显示是否同意条款,输入yes
Do you approve the license terms? [yes|no] >>> yes - 跳出是否使用默认安装路径,直接回车(如果要改直接输入想要的安装路径)
Anaconda2 will now be installed into this location: /home/ziven/anaconda2 - Press ENTER to confirm the location - Press CTRL-C to abort the installation - Or specify a different location below [/home/ziven/anaconda2] >>> - 等待安装
- 安装完成,选择是否配置环境变量【注意:默认是no】,因此这里要输入yes,否则之后要手动添加环境变量
Python 2.7.13 :: Continuum Analytics, Inc. creating default environment... installation finished. Do you wish the installer to prepend the Anaconda2 install location to PATH in your /home/ziven/.bashrc ? [yes|no] [no] >>> yes - 在终端输入
anacron -V可显示版本Anacron 2.3 Copyright (C) 1998 Itai Tzur <itzur@actcom.co.il> Copyright (C) 1999 Sean 'Shaleh' Perry <shaleh@debian.org> Copyright (C) 2004 Pascal Hakim <pasc@redellipse.net> Mail comments, suggestions and bug reports to <pasc@redellipse.net>.
conda自动安装:
- 现在可以直接使用conda来一次性安装TensorFlow,conda会自动安装相应版本的CUDAToolkit和cuDNN
conda install tensorflow-gpu # GPU版本
安装CUDA:
- 确保GPU为CUDA所支持的GPU
lspci | grep -i nvidia参照GPU支持列表
- 确定系统版本
uname -m && cat /etc/*release - 确定gcc版本
gcc --version - 下载CUDA Toolkit,建议使用.deb
- 切换到下载目录
sudo dpkg -i cuda-repo-<distro>_<version>_<architecture>.deb - 更新apt源
sudo apt-get update sudo apt-get upgrade - 安装cuda
sudo apt-get install cuda - 再次更新apt源
sudo apt-get update sudo apt-get upgrade - 更新软件包
sudo apt-get install cuda -
选择最新安装的显卡驱动
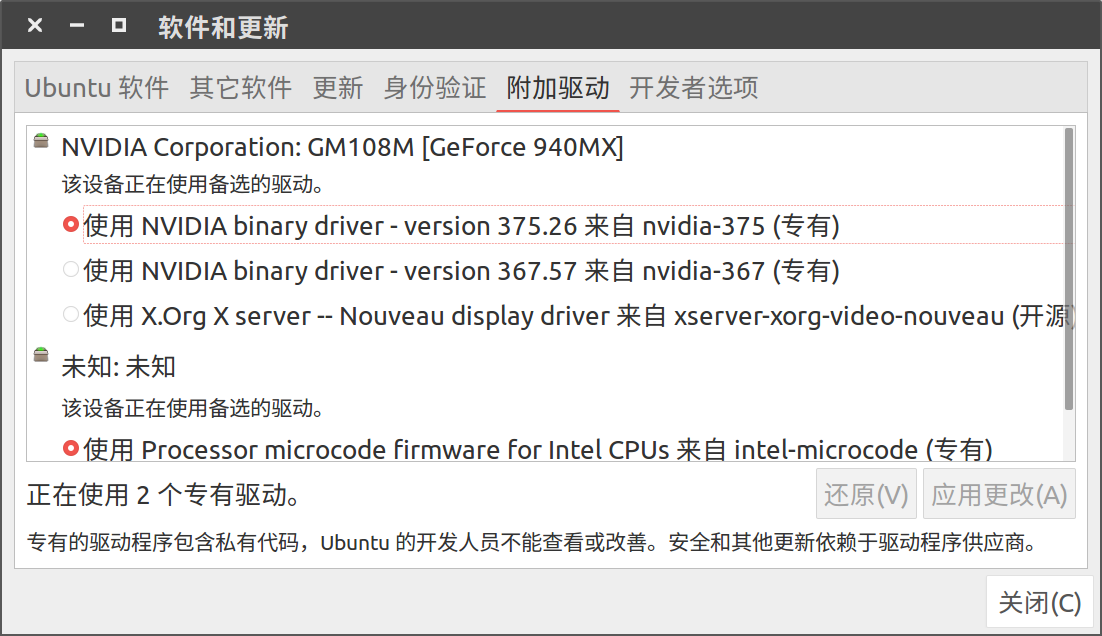
- 如果没有新的显卡驱动可以如下安装(显卡驱动要考虑清楚谨慎安装,安装不匹配的显卡驱动可能会引起无法启动图形界面的情况)
sudo apt-get install cuda-drivers - 添加环境变量
export PATH=/usr/local/cuda-8.0/bin${PATH:+:${PATH}} - 检测安装
cd /usr/local/cuda-8.0/samples/ sudo make - 使用deviceQuery检测安装
cd ./bin/x86_64/linux/release/ ./deviceQuery - 可以看到显卡信息和最后的PASS即可
./deviceQuery Starting... CUDA Device Query (Runtime API) version (CUDART static linking) Detected 1 CUDA Capable device(s) Device 0: "GeForce 940MX" CUDA Driver Version / Runtime Version 8.0 / 8.0 CUDA Capability Major/Minor version number: 5.0 Total amount of global memory: 2002 MBytes (2099642368 bytes) ( 3) Multiprocessors, (128) CUDA Cores/MP: 384 CUDA Cores GPU Max Clock rate: 1242 MHz (1.24 GHz) Memory Clock rate: 1001 Mhz Memory Bus Width: 64-bit L2 Cache Size: 1048576 bytes Maximum Texture Dimension Size (x,y,z) 1D=(65536), 2D=(65536, 65536), 3D=(4096, 4096, 4096) Maximum Layered 1D Texture Size, (num) layers 1D=(16384), 2048 layers Maximum Layered 2D Texture Size, (num) layers 2D=(16384, 16384), 2048 layers Total amount of constant memory: 65536 bytes Total amount of shared memory per block: 49152 bytes Total number of registers available per block: 65536 Warp size: 32 Maximum number of threads per multiprocessor: 2048 Maximum number of threads per block: 1024 Max dimension size of a thread block (x,y,z): (1024, 1024, 64) Max dimension size of a grid size (x,y,z): (2147483647, 65535, 65535) Maximum memory pitch: 2147483647 bytes Texture alignment: 512 bytes Concurrent copy and kernel execution: Yes with 1 copy engine(s) Run time limit on kernels: Yes Integrated GPU sharing Host Memory: No Support host page-locked memory mapping: Yes Alignment requirement for Surfaces: Yes Device has ECC support: Disabled Device supports Unified Addressing (UVA): Yes Device PCI Domain ID / Bus ID / location ID: 0 / 2 / 0 Compute Mode: < Default (multiple host threads can use ::cudaSetDevice() with device simultaneously) > deviceQuery, CUDA Driver = CUDART, CUDA Driver Version = 8.0, CUDA Runtime Version = 8.0, NumDevs = 1, Device0 = GeForce 940MX Result = PASS - SElinux报错的话需要
sudo setenforce 0 - 然后跑一下bandwidthTest看一下
./bandwidthTest显示PASS即可
- CUDA安装完成
安装cuDNN:
- 下载cuDNN
- 进入下载目录解压tar包
cd ~/下载/ tar -zxf cudnn-8.0-linux-x64-v5.1.tgz cuda/ - 进入cuda文件夹
cd ~/cuda - 复制头文件到/usr/local/include
sudo cp include/cudnn.h /usr/local/include/ - 复制lib文件到/usr/local/lin
sudo cp lib64/* /usr/local/lib - 编辑.bashrc添加环境变量
vim ~/.bashrc在最后一行添加
export LD_LIBRARY_PATH=/usr/local/lib安装theano:
conda install theano pip install nose_parameterized - 进入Python检查tehano:
import theano theano.test() - 如果报错
Intel MKL FATAL ERROR: Cannot load libmkl_avx2.so or libmkl_def.so.则执行
conda install nomkl - 结果为ok则安装成功
- 配置.theanorc(配置GPU加速):
cd ~ vim .theanorc - 写入并保存:
[global] floatX=float32 device=gpu base_compiledir=~/external/.theano/ allow_gc=False warn_float64=warn [mode]=FAST_RUN [nvcc] fastmath=True [cuda] root=/usr/local/cuda - 创建一个test.py:
from theano import function, config, shared, sandbox import theano.tensor as T import numpy import time vlen = 10 * 30 * 768 # 10 x #cores x # threads per core iters = 1000 rng = numpy.random.RandomState(22) x = shared(numpy.asarray(rng.rand(vlen), config.floatX)) f = function([], T.exp(x)) print(f.maker.fgraph.toposort()) t0 = time.time() for i in range(iters): r = f() t1 = time.time() print("Looping %d times took %f seconds" % (iters, t1 - t0)) print("Result is %s" % (r,)) if numpy.any([isinstance(x.op, T.Elemwise) for x in f.maker.fgraph.toposort()]): print('Used the cpu') else: print('Used the gpu') - 如果最后一行显示Used the gpu则表示GPU已启用
安装Tensorflow:
- 根据注释选择自己需要的版本
pip install --upgrade tensorflow      # for Python 2.7
pip3 install --upgrade tensorflow     # for Python 3.n
pip install --upgrade tensorflow-gpu  # for Python 2.7 and GPU
pip3 install --upgrade tensorflow-gpu # for Python 3.n and GPU